A kitchen knife OEM project is a balance problem before it is a steel problem. The blade has to hold an edge, the handle has to balance the blade so the knife feels lighter than it is, and the rivets and the finish have to survive the first dishwasher cycle and the first customer complaint. Retail buyers who skip the balance and finish details in the OEM brief usually discover them at the sample stage, when the knife looks right in a photo but feels wrong in the hand. This guide covers the blade finish, handle balance and QC checks that separate a knife OEM program that sells from one that gets returned.
Blade steel: the options and what they actually change
Knife steel choices for OEM programs usually come down to three families: 3Cr13 and 5Cr15 for the entry and mid price bands, 8Cr13MoV and 9Cr15 for the mid and upper bands, and the higher-carbon steels (VG-10 style, 440C, or proprietary equivalents) for premium lines. The common shorthand “German steel” and “Japanese steel” refers more to the heat-treatment tradition than to a single alloy, and a supplier should be able to name the exact grade, not just the marketing story.
For a retail knife program, the practical trade-off is edge retention against ease of sharpening and cost. A harder steel holds an edge longer and costs more, but it is harder to sharpen and more brittle at the edge if the heat treatment is wrong. A softer steel is easier to sharpen and cheaper, but it loses the edge faster and reads as lower quality to a discerning customer. The grade also affects the finish: a harder steel takes a finer polish, which is why premium knives carry the bright mirror finish that entry knives cannot achieve.
| Steel grade | Typical position | Edge retention | Ease of sharpening | Typical finish |
|---|---|---|---|---|
| 3Cr13 | Entry price band | Low | Easy | Satin or light polish |
| 5Cr15 | Mid price band | Medium | Easy | Satin, can take polish |
| 8Cr13MoV | Mid / upper band | High | Medium | Polished or satin |
| High-carbon (VG-10 style) | Premium | Very high | Harder | Mirror / high polish |
The grade is only half the story; the heat treatment is the other half. Two knives from the same grade can perform very differently if one factory hardens to the right range and the other does not. Ask the supplier for the hardness range (usually expressed as HRC) and a test report, and verify the edge behaviour on the production sample rather than on a hand-finished prototype.
Blade finish: satin vs mirror and what each costs
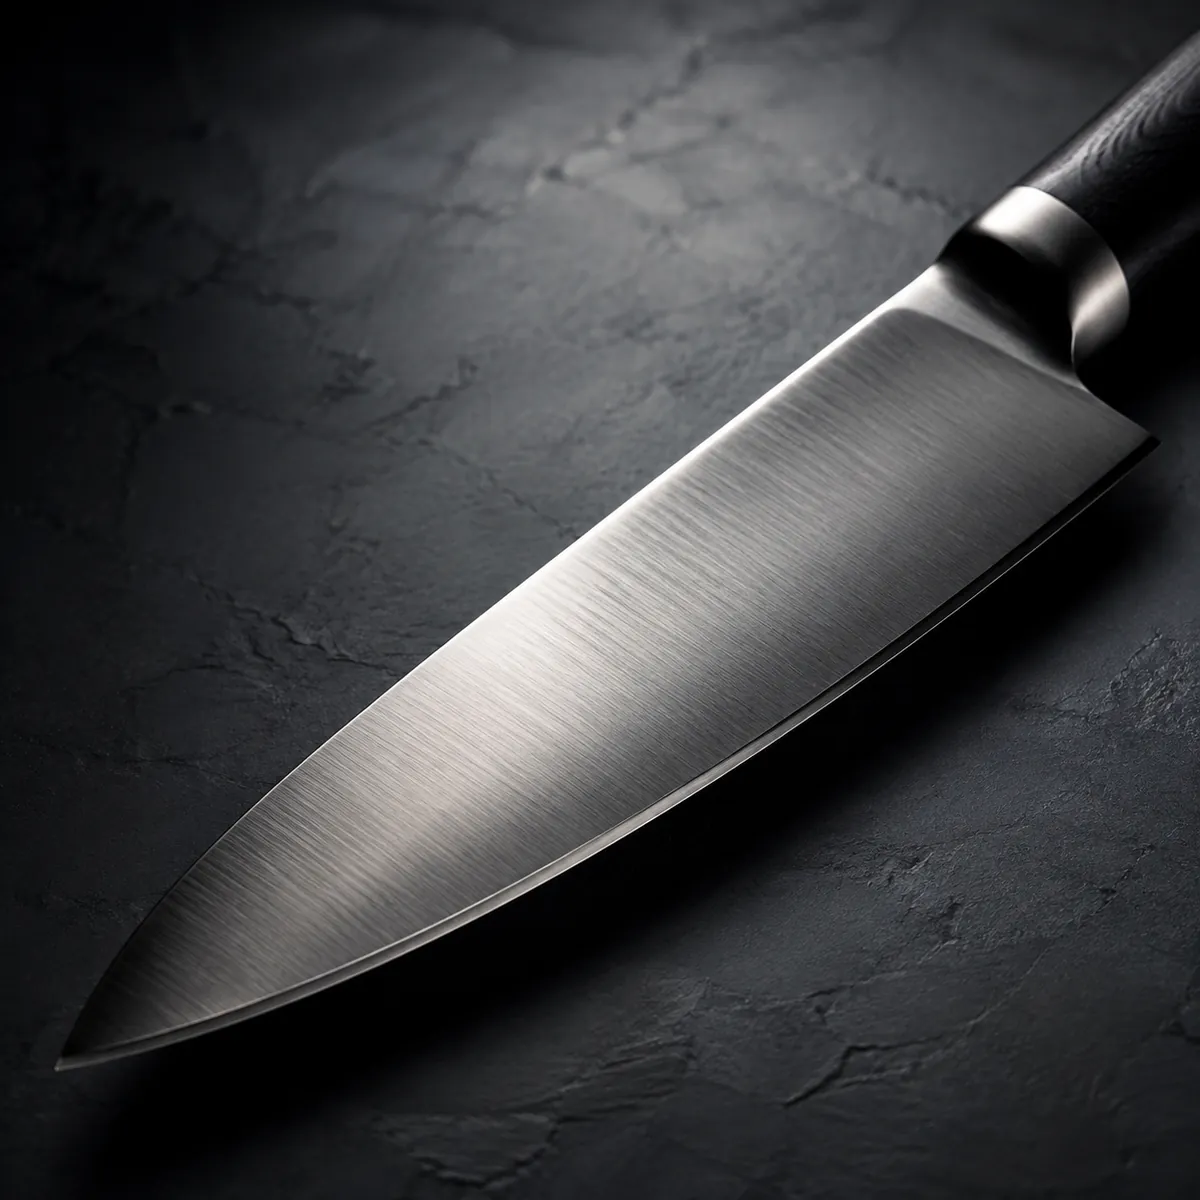
The blade finish is the visible part of the knife’s quality story, and it is a real cost line in the quote. The main options are the satin finish (a brushed, matte look produced by abrasive belts), the mirror or high-polish finish (a bright reflective surface produced by finer polishing stages), and the bead-blasted or stone-washed finishes used on some premium and outdoor-style lines.
Satin is the workhorse for retail programs because it hides scratches well, costs less to produce and still looks deliberate. Mirror is the premium story: it photographs well, carries the high-end message, and shows every fingerprint and scratch in real use, which makes it a display product more than a daily-use product. Some programs run a mirror finish on the upper part of the blade with a satin section near the edge, which splits the difference.
The finish also affects the QC picture. A mirror-finish blade needs a higher-grade polishing process and a cleaner packing environment, because a scratch that is invisible on satin is a reject on mirror. If the retail price point does not justify the extra polishing time and the QC discipline, stay with satin.
Quick FAQ: Should I choose satin or mirror finish for my knife line?
Satin for daily-use retail programs: it hides scratches, costs less and still looks deliberate. Mirror for premium display lines that justify the extra polishing time and the stricter QC. The finish is a cost line and a QC line, not just a look.
Handle balance: the spec most buyers forget
Balance is the difference between a knife that feels expensive and one that feels cheap, and it is almost entirely a spec decision. The balance point of a chef’s knife should sit at or just in front of the handle-blade junction, so the knife feels neutral in the hand and the weight does the cutting work. A knife that is blade-heavy feels tiring; a knife that is handle-heavy feels unresponsive.
The balance is driven by three components: the blade weight and geometry, the handle material and weight, and the tang construction. A full tang (the steel runs the full length of the handle, visible at the heel and often at the butt) adds weight to the handle end and strengthens the knife; a partial tang (the steel runs halfway into the handle) is cheaper and lighter but changes the balance and the durability story. For retail programs, full tang is the safe choice in the mid band because it carries the “professional” message and the balance benefit; partial tang belongs in entry lines where the price point decides.
Handle material matters for balance and for feel. The options are the classic wood (rosewood, walnut, pakkawood), synthetic materials (PP, ABS, nylon with or without TPE grips), and stainless handles on commercial lines. Wood looks premium and takes a logo well but needs care documentation; synthetic handles are the low-maintenance choice for dishwasher-safe claims and for Central Asian and EU markets where care instructions matter less than durability. The handle profile — rounded, D-shaped, ergonomic with finger grooves — is a feel decision that should be tested on a sample with real users, not decided from a drawing.
Construction and rivets: where cost-down programs hide
The hidden cost-down in knife OEM is almost always in the construction details: the tang length, the rivet type and count, the bolster (the metal collar between blade and handle), and the blade-to-handle fit. A knife with three visible rivets can still hide a partial tang and pressed-in rivet caps that loosen in use. The checks are simple: specify the tang type in the RFQ, count the rivets and the rivet material (stainless rivets are the standard for dishwasher-safe claims; brass rivets are a traditional look but tarnish), and ask whether the bolster is forged as part of the blade or welded on.
The blade-to-handle fit is the detail that decides the “premium” feel. A flush fit with no gap and no sharp edge at the junction feels finished; a gap collects food and reads as cheap. On a sample, run a fingernail across the junction and check for steps, and check the rivet heads for smoothness — a proud rivet head is a comfort complaint waiting to happen.
Edge angle and edge geometry
The edge angle is the most misunderstood spec in knife sourcing. A typical chef’s knife edge is ground at roughly 15–20 degrees per side, and the exact angle trades edge sharpness against edge durability. A thinner edge cuts better and dulls faster; a thicker edge lasts longer and cuts less finely. The angle also depends on the steel: harder steels can take a finer edge, while softer steels need a slightly more robust angle to avoid rolling.
The edge geometry — how the edge transitions from the blade body — matters too. A full flat grind produces a thin, sharp edge suited to slicing; a convex grind is more robust and suits harder use. For retail, the practical approach is to spec a consistent edge angle for the line, confirm it on the production sample with an angle gauge or by the supplier’s test protocol, and put the edge test into the QC checklist so the factory does not change the grind between the sample and the bulk run.
Packaging and retail display for knife OEM lines
Knives are a retail safety story, and the packaging has to protect the edge, protect the customer and carry the brand. The main retail formats are the blade guard plus hang card, the full clamshell or window box, the block set (knives in a wooden or synthetic block), and the roll or pouch for premium lines. The blade guard is the minimum: a knife that arrives with a nicked edge from transit is a returned product even when the steel is perfect.
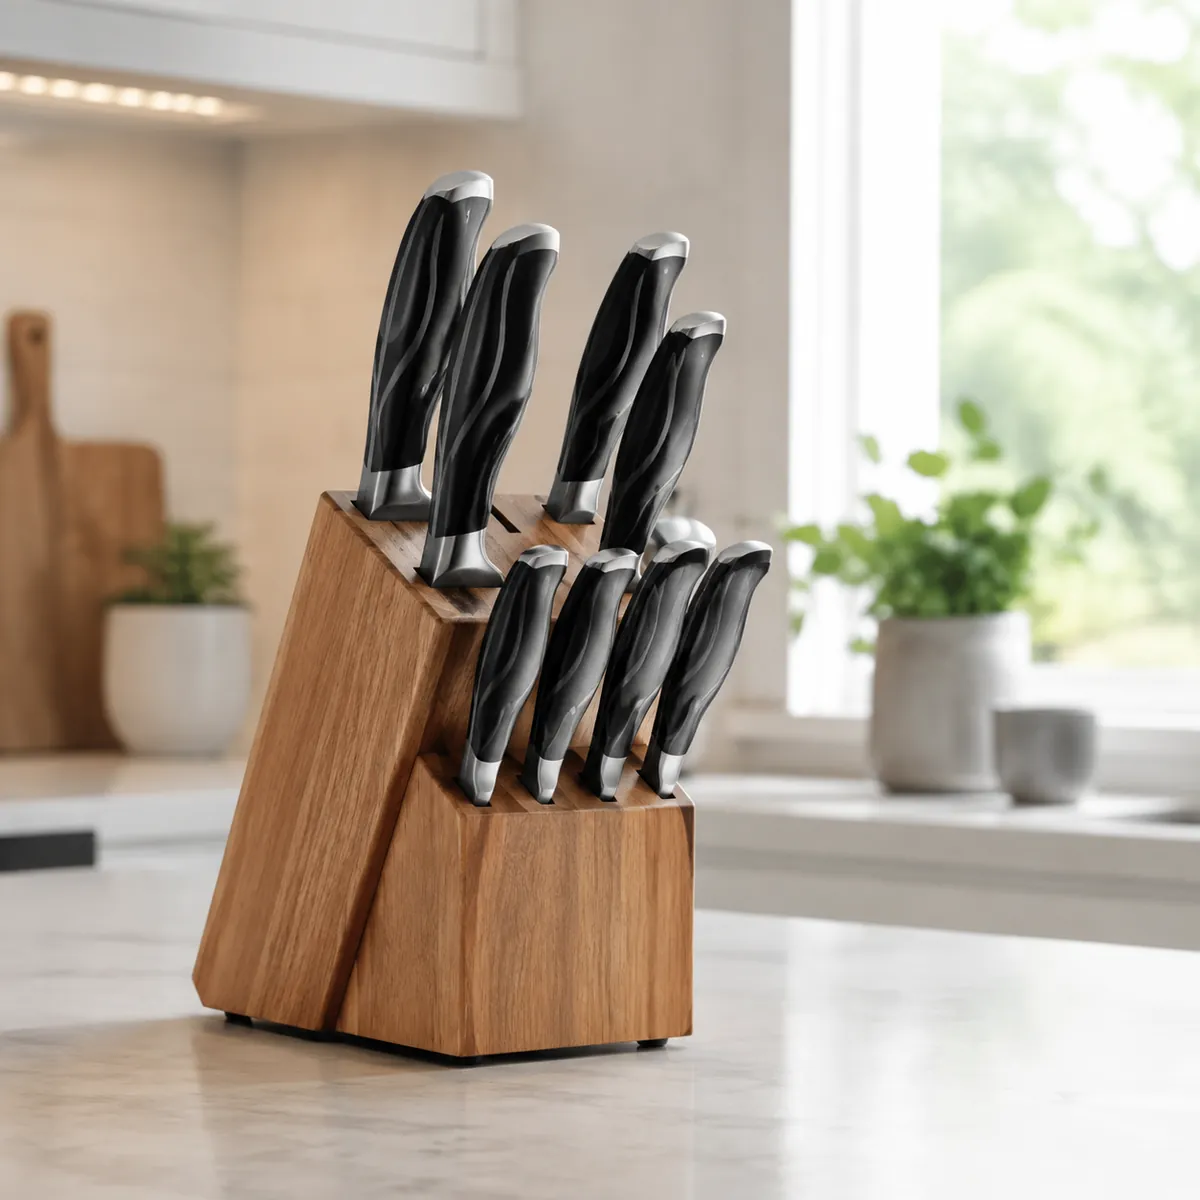
For block sets, the block material, the slot fit and the way the knives sit in the block are all QC points — a knife that rattles in its slot or falls out when the block is tipped is a store-level complaint. For hang-card lines, confirm the card strength, the euro-slot and the barcode position with the retailer before finalising the artwork. Also check the “dishwasher safe” claim against the handle and rivet spec: a claim that the product cannot support is a liability, not a feature.
QC checks for a knife OEM order
Knife QC has its own checklist because the failure modes are specific: edge quality, balance, finish, rivets and packaging. The pre-shipment inspection should cover the steel grade verification (mill certificate or material test), the hardness test (HRC range on the production batch), the edge test (cutting performance on a standard material, plus the edge angle check), the balance check (balance point position on a sample from each batch), the finish check (scratches, polish consistency, especially on mirror lines), the handle and rivet check (fit, smoothness, tang confirmation), and the packaging check (blade guard present, block fit, card and barcode correct).
| QC check | Method | Pass criterion |
|---|---|---|
| Steel grade | Mill certificate / material test | Grade matches the RFQ |
| Hardness | HRC test on production batch | Within the agreed range |
| Edge performance | Standard cutting test | Edge holds through the test protocol |
| Balance | Balance-point measurement | At or just forward of the junction |
| Finish | Visual under standard light | No scratches, consistent polish |
| Handle / rivets | Visual + fingernail check | Flush fit, smooth rivets, full tang |
| Packaging | Open random packed units | Blade guard present, block fit, barcode correct |
Add one knife-specific test that most programs skip: the dishwasher-cycle test on the handle and rivets if you claim dishwasher safety. A few cycles through a standard dishwasher will reveal loose rivets, stained wood and degraded TPE grips faster than a year of customer use.
Quick FAQ: What are the most common knife OEM QC failures?
Edge inconsistency between batches, loose rivets on dishwasher-safe claims, scratched mirror finishes, blade guards missing in transit, and handle materials that do not match the sample. All five are preventable with the QC checklist above.
Branding, logo and packaging personalisation for knife OEM
The knife is one of the best products in the kitchen aisle for brand personalisation, because the branding points are visible and cheap. The logo can sit on the blade (laser etching is the standard for a clean look that survives use; printed logos wear quickly), on the handle (a moulded logo on synthetic handles, a branded tag or an inlay on wooden handles), and on the packaging (the hang card, the box and the blade guard all carry print without tooling cost). For a first OEM program, the low-risk branding is the laser-etched blade logo plus the printed packaging: it carries the brand story without the tooling investment of a custom moulded handle.
The blade etching is also a QC point. A laser-etched logo that is misaligned, too shallow or placed over a scratch is a reject on a premium line, so the logo position and depth belong in the artwork approval and the inspection checklist. Confirm the artwork file format the factory needs, approve a printed and etched sample before production, and keep the artwork version-controlled — a knife program that changes logo position between the sample and the bulk run is a program that gets a container of misaligned knives.
Packaging personalisation goes further than the logo. The retail story can carry the steel grade, the edge angle and the care instructions on the back of the card, which turns the packaging into the education tool that reduces returns. The care message matters more for knives than for most kitchenware because the misuse rate is high: a knife that goes in the dishwasher against the care instructions fails faster, and the pack should say so before the customer discovers it.
Sample approval and the first production run
Knife samples are where the program is won or lost, and the sample that matters is the production-style sample, not the hand-finished prototype. Ask for two or three production-style samples from the actual production process, test them with the same checklist you will use at inspection, and check the certificates against the destination market. Confirm the edge angle, the balance point and the finish on the production sample, and keep one approved sample as the reference for the factory and the inspector — a physical reference beats a spec sheet in every dispute.
For the first production run, agree the inspection standard in writing, specify the random sampling rate, and arrange a pre-shipment inspection before the container is packed. The inspection cost is small against the cost of a container of knives with a bad edge or loose rivets.
Common knife OEM mistakes and how to avoid them
The same mistakes appear in knife OEM programs year after year, and most of them are spec or process errors that were visible at sample stage. The first is approving a hand-finished prototype and skipping the production-style sample: the prototype hides the batch differences in steel, heat treatment and finish that the production line will not. The second is specifying the steel grade without the HRC range, which lets the factory heat-treat to whatever is cheapest and still claim the grade. The third is skipping the balance check, which produces a knife that looks right and feels wrong — the complaint that shows up in reviews, not at inspection.
The fourth mistake is the packaging shortcut: a blade guard that is too light, a block slot that does not fit, or a barcode that fails at the register. The fifth is the documentation gap — approving a sample without the certificates for the destination market, then discovering at the border that the file is incomplete. Every one of these mistakes has a cheap fix at the spec or sample stage and an expensive fix at the container stage, which is why the checklist in this guide belongs in the RFQ, not in the post-mortem.
Knife sets and block programs for retail
Most knife retail programs are set programs — the single chef’s knife is the entry product, but the margin and the shelf story come from the set. The set structures are the block set (knives in a wooden or synthetic block, the classic gift and premium format), the boxed set (knives in a presentation box, the mid-price format), and the open-stock line (individual knives on hooks or cards, the volume format). The set composition decision follows the same logic as cookware sets: odd piece counts read as a set, the hero knife carries the story, and the block or the box is the product as much as the steel.
For a first program, the low-risk structure is a small open-stock line (three or four knives) plus one boxed set. The open stock tests the market for the individual SKUs, the boxed set carries the gift and premium story, and both share the same steel, handle and finish spec — which keeps the QC simple and the range coherent. Block sets are the highest-value format but also the highest packaging risk: the block has its own QC points (slot fit, stability, material story), and a block set that rattles or tips is a returned product.
The set story also changes the packaging cost and the QC list. The boxed set needs the presentation box, the insert and the blade guards; the block set needs the block, the slot fit check and the branding on the block. Both formats justify a higher retail price than the same knives sold open stock, and both need the packaging approved on a production-style sample before the first run.
Frequently Asked Questions
What steel should I choose for a kitchen knife OEM program? Match the steel to the price band: 3Cr13 or 5Cr15 for entry and mid lines, 8Cr13MoV for the mid and upper band, and high-carbon steels for premium lines. Confirm the exact grade and the HRC range in writing, because the heat treatment matters as much as the grade.
What is the difference between satin and mirror blade finish? Satin is a brushed finish that hides scratches, costs less and suits daily-use retail lines. Mirror is a bright polished finish that photographs well but shows every scratch and needs stricter QC and packing. Choose by price point and use case.
Why does handle balance matter for a knife? Balance decides how the knife feels: a well-balanced knife sits neutral in the hand and the weight does the cutting work, while a blade-heavy or handle-heavy knife feels tiring and unresponsive. Specify the tang type and handle material to control it.
What should I check when approving a knife sample? Test the production-style sample with your full QC checklist: edge performance and angle, balance point, finish, handle fit and rivets, plus the packaging. Keep one approved sample as the physical reference for the factory and the inspector.
Do I need a dishwasher-safe claim on my knife line? Only if the handle and rivet construction support it. Run a dishwasher-cycle test on the production sample before printing the claim, and confirm the documentation with the importer of record for the destination market.
Building the knife line with your supplier
A kitchen knife OEM program succeeds when the buyer treats balance and finish as specs, not as feelings. Name the steel grade and the HRC range, choose the finish by price point, specify the tang type and handle material, put the edge angle in the RFQ, and run the full QC checklist on a production-style sample before the first run. The knife that feels right in the hand sells itself; the one that only looks right in a photo gets returned. Our kitchenware products range includes the knife and kitchen-tool lines that fit a retail program, and the full product range covers the cookware, bakeware and tableware that complete the kitchen aisle. If you are at the OEM brief stage and want to review steel options, handle specs and QC protocols before committing, send your product plan through our contact page and we will work through what can be supported.