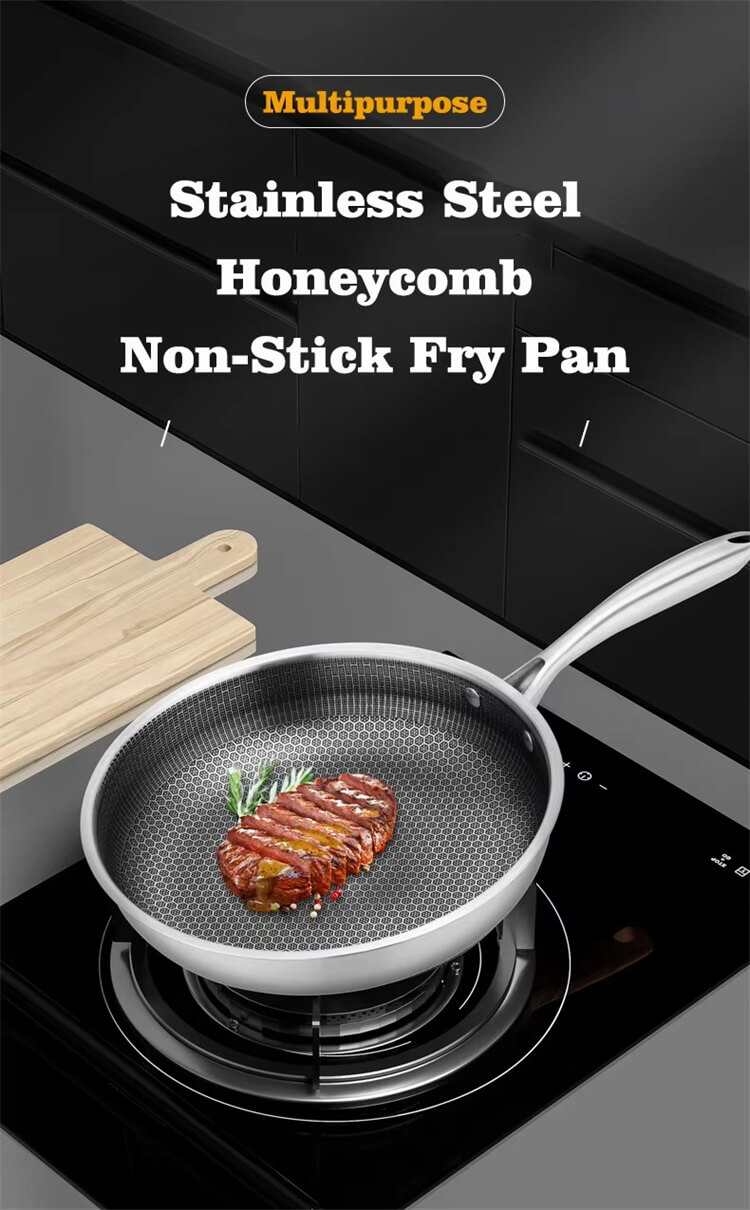
Most frying pan returns trace back to the coating, not the pan body. When you evaluate a frying pan manufacturer, ask how the base is prepared, how many coating layers are applied, what the curing process is, and which tests the factory runs before packaging. The answers separate a line that survives two years of home use from one that flakes in six months. This guide covers the coating checks that matter for wholesale and OEM frying pan orders.
Why Coating Quality Decides Your Return Rate
A frying pan is a simple stamped or cast product, but the non-stick coating is where quality lives or dies. A poor coating fails in three visible ways: it scratches, it discolors, or it delaminates from the base. All three happen after the pan reaches the customer, which means the retailer absorbs the return and the brand absorbs the reputation damage. The factory that controls coating quality controls your return rate, so the evaluation should start there, not with the price.
Base Preparation: Sandblasting and Surface Profile
Before any coating is sprayed, the pan surface must be prepared. Factories usually sandblast or etch the aluminum or steel base to create a rough surface that the coating can grip. If the preparation step is skipped or rushed, the coating delaminates later regardless of how good the paint is. Ask how the base is prepared, and check the prepared surface on a sample — it should feel uniformly matte, not smooth in patches. Also confirm that the base material gauge meets your spec; a thin base warps under heat and stresses the coating.
Coating Application: Layers, Thickness and Curing
Non-stick frying pans usually carry two or three coating layers: a primer for adhesion, one or more topcoats for release, and sometimes a protective finish. The total coating thickness is normally measured in microns, and a thicker coating is not automatically better — consistency and curing matter more. Ask the factory for the coating system name, the layer structure, the target thickness and the curing temperature and time. Then verify the numbers on a sample with a coating thickness gauge if you have one, or ask your QC partner to do it.
| Coating check | What to confirm with the factory | How to verify |
|---|---|---|
| Base preparation | Sandblasting or etching step, surface profile | Visual check on sample; matte uniform surface |
| Coating system | Brand and name, PFOA-free status | Datasheet in writing |
| Layer structure | Primer + topcoat count | Factory spec sheet |
| Thickness | Target microns and tolerance | Coating thickness gauge on sample |
| Curing | Temperature and time | Factory process record |
| Release performance | Standard test used | Egg or pancake test on sample |
Coating systems and thickness targets vary by factory; the numbers above are the minimum set of questions, not a universal spec.
What Tests a Reliable Factory Runs
A serious frying pan factory runs routine tests before packaging: an adhesion cross-cut test, a scratch resistance test, a heat test at the rated temperature, and sometimes a dishwasher cycle test. Not every factory runs all of them, and that is fine as long as the missing tests are on the table. Ask which tests are routine, what the pass criteria are, and whether you can receive the latest test records. If the factory treats the question as unusual, treat the factory as risky.
Sample Testing Before Mass Production
Paper specs are not enough. Order a pre-production sample and run three quick checks yourself: cook an egg with minimal oil and see how easily it releases; scratch the surface with a metal spatula repeatedly and look for marks; and heat the pan empty on medium for a few minutes to check for smell or discoloration. These three tests catch most coating problems before they become a container of returns. Keep the approved sample as the benchmark for final inspection.
When you build your frying pan program, our cookware product range covers frying pans across material and coating lines, and the full product catalogue shows what else can share the same container.
Handles, Rivets and Induction Compatibility
Coating is the first thing to check, but two follow-ups decide whether the pan works in the customer’s kitchen. Handle construction matters because loose handles are a safety complaint, not just a quality one. Confirm the handle type — riveted, welded or screwed — and the material, and ask how the factory tests handle strength. Bakelite and stainless handles are common; silicone-wrapped handles add grip but change the packaging dimensions. Second, confirm induction compatibility if your market uses induction cooktops. An aluminum pan needs a magnetic stainless or steel disc bonded to the base, and that bonding process can affect the coating on the cooking surface if the factory is careless. Ask for the induction test result on the sample and check the pan on an induction hob during your own testing.
| Follow-up check | What to confirm | Why it matters |
|---|---|---|
| Handle attachment | Riveted, welded or screwed; strength test | Safety complaints and returns |
| Handle material | Bakelite, stainless or silicone-wrapped | Heat transfer, packaging size |
| Induction base | Magnetic disc present and bonded correctly | Works or fails on induction hobs |
| Rim and rivet coating | Even coverage near rim and rivets | First place coating flakes |
Induction compatibility varies by market and by pan construction; always confirm the specific test on the actual sample.
Common Coating Sourcing Mistakes
The pattern we see most often is buyers who compare coating prices without comparing coating systems. A quote for a cheaper generic coating may look attractive until the return rate arrives. The second mistake is approving a sample from one factory line and then receiving mass production from a different line; confirm in the order that mass production runs on the same line as the approved sample. The third is skipping the coating datasheet until after the order, which makes a coating complaint almost impossible to resolve. Collect the datasheet, the test records and the approved sample before you sign, and the rest of the process is straightforward.
Quick check: Does a thicker coating mean a better pan?
Not necessarily. Coating consistency and correct curing matter more than raw thickness. A uniform, well-cured coating at the factory’s target thickness outperforms a thick coating that was rushed through curing. Verify the process and test the sample instead of chasing a micron number.
FAQ: Frying Pan Manufacturer Coating Checks
What is the most common non-stick coating failure?
Delamination or flaking near the rim and handle rivets, usually caused by poor base preparation or uneven coating at edges. Check those areas on the sample first.
Do I need a PFOA-free confirmation?
It is standard practice in most markets now. Ask for it in writing on the coating datasheet, and confirm the same for any subcontracted coating step.
How do I test a frying pan sample without a lab?
Run the egg test, the metal-spatula scratch test and the empty-heat test. They are fast, need no equipment, and catch the failures that matter most to end users.
Can the factory adjust coating thickness for my spec?
Usually yes within the limits of their coating line, but every adjustment changes cost and curing time. Confirm the target thickness and tolerance in writing before mass production.
Final Recommendation
Evaluate the frying pan manufacturer on coating control, not on price per piece. Confirm the base preparation, coating system, layer structure, curing process and test routine in writing, then verify with a pre-production sample. The factory that documents these answers is the factory that will ship consistent pans.
If you are sourcing frying pans and want a factory-side review of your coating spec, send us your target size, base material and coating requirement. We reply with sourcing notes and sample options. Request a quote or contact us directly via WhatsApp — a real sourcing specialist will respond.