The handle is the first thing a shopper touches on a frying pan, and the last thing a manufacturer thinks about when writing a spec sheet. That gap produces most of the pan complaints that never reach the coating: handles that get hot past the rating printed on the box, rivets that loosen after dishwasher cycles, lids that do not fit the pan they were sold with. When you source from a frying pan manufacturer, the handle, its attachment and the lid are not accessories — they are specifications you can write, sample and inspect like the base gauge or the coating. This guide explains how to brief those specs so your pans survive both the oven test and the retail return rate.
Why Handle Specs Decide More Than You Think
A frying pan is bought for its cooking surface but judged by its whole body. The handle carries the weight when the pan is full, transfers heat to the hand or resists it, survives the dishwasher or corrodes at the rivets, and determines whether the pan stacks in the cupboard and hangs on a rail. Retailers see this in the return data: loose handles, burned handles and broken rivets come back far more often than coating failures on well-made pans.
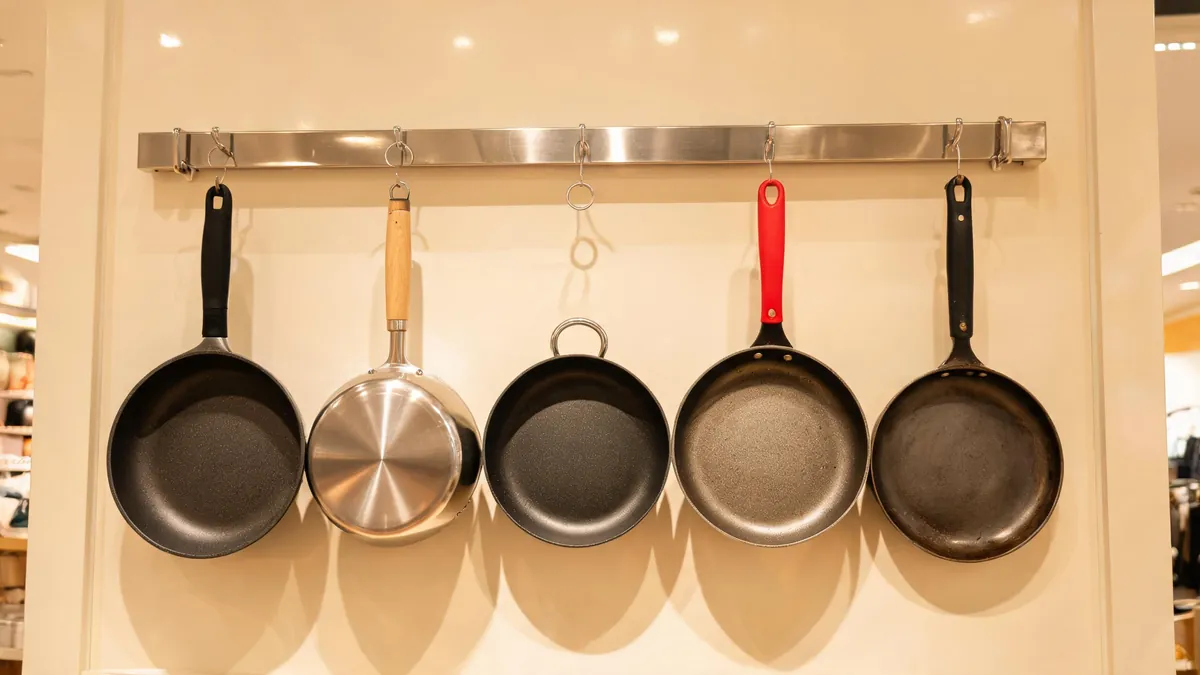
For a cookware products program, handle decisions also segment your range. A stay-cool handle positions a pan for everyday family cooking; a stainless handle with an oven-safe rating positions it for serious home cooks who finish steaks in the oven. If you buy both from the same frying pan manufacturer, the handle spec is what keeps the two lines from blurring into one mid-range product.
Handle Materials: The Practical Trade-offs
Frying pan handles come in a handful of material families, and each changes the pan’s feel, heat behavior, price and care story. There is no best handle — there is the right handle for your price point and your shoppers’ cooking style.
| Handle type | Feel and heat behavior | Typical care notes | Best fit for |
|---|---|---|---|
| Phenolic / bakelite-style | Stays relatively cool on the stovetop; hard, molded grip | Usually hand-wash recommended; oven limits apply | Value and mid-range pans; induction and gas daily cooking |
| Stainless steel | Conducts heat; needs a stay-cool design or mitt in the oven | Dishwasher-safe in most cases; can get hot on the stovetop | Oven-finishing pans; premium and commercial-style lines |
| Silicone-wrapped | Soft grip; moderate heat insulation depending on design | Check temperature rating; silicone can discolor over time | Comfort-grip consumer lines; gift sets |
| Wood | Warm feel; low heat conduction; classic look | Not dishwasher-safe; needs oiling over time | Traditional or heritage-style ranges |
Whatever material you choose, ask the manufacturer three questions. What is the handle’s continuous-use temperature rating? Is that rating for the oven, the stovetop or both? And what happens to the handle in a dishwasher cycle? The answers should match the claims you print on the box, because a pan labeled oven-safe to 200 °C with a handle rated to 150 °C is a product liability hiding in plain sight.
Riveted vs Welded Handles
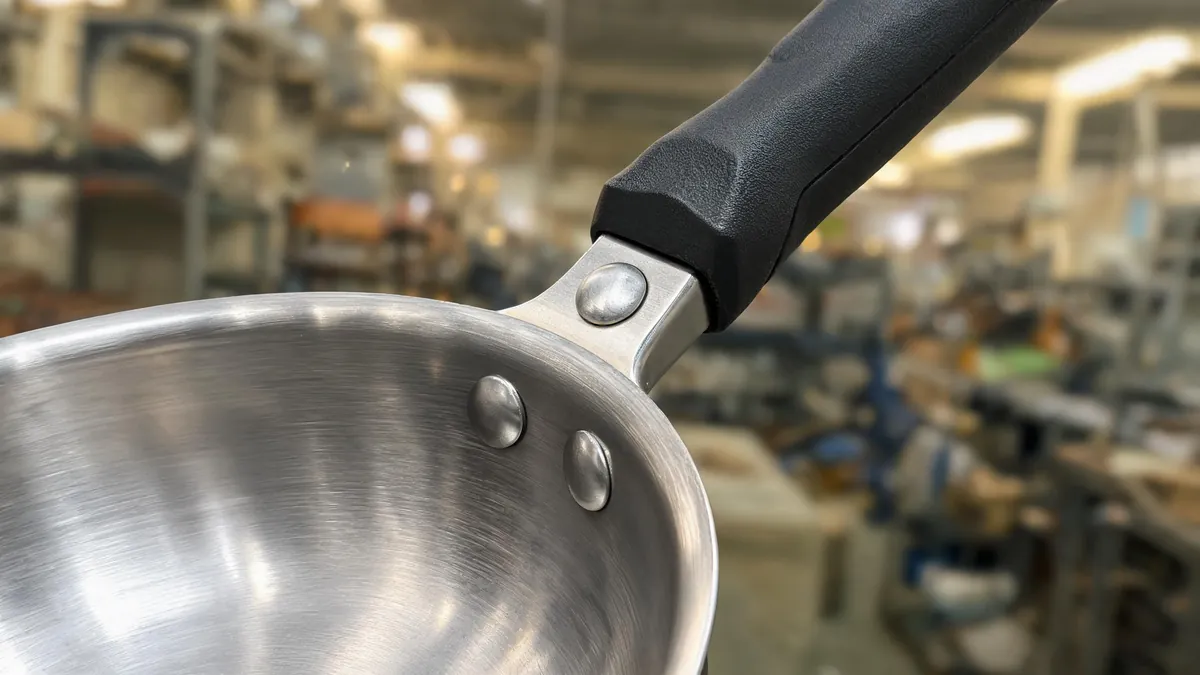
How the handle attaches to the pan body is a spec with real consequences. Riveted handles are the most common on mid-range cookware: a metal rivet or rivets pass through the handle and the pan wall, holding them together. Welded handles are fused to the body without visible fasteners, which gives a smooth interior — easier to clean and more hygienic-looking, and increasingly common on premium lines.
Rivets have trade-offs. Interior rivets create small crevices where food and water collect, which matters if your shoppers use dishwashers. Rivets can also loosen over time if the handle is torqued or the pan is dropped, which is why the rivet joint should be part of the QC check. On the positive side, riveted construction is proven, repairable and usually cheaper than welding. Welded handles eliminate the interior crevice and the loose-rivet failure mode, but they concentrate stress at the weld, and a poor weld can fail with less warning than a loose rivet. Confirm which method the manufacturer uses and what their defect history is on that joint type.
Quick answer: riveted or welded — which should a retail buyer choose?
It depends on your price point and your shoppers’ care habits. Riveted handles are standard on value and mid-range pans and are perfectly durable when the rivet is set correctly; welded handles suit premium lines and shoppers who run everything through the dishwasher. Ask the manufacturer for the failure data on both joints and match the construction to your warranty risk, not to the marketing story.
Oven-Safe Ratings: Write Them Down
“Oven-safe” is printed on a lot of cookware boxes and means almost nothing without a temperature. The rating that matters is the combination of the pan body and the handle at a continuous oven temperature. A stainless pan body is oven-safe to temperatures far beyond what the handle tolerates, so the handle is the limiting part in most designs.
When you brief the frying pan manufacturer, specify the oven rating your line needs — for example, a pan that must sit in a 260 °C oven to finish a steak has different handle requirements from a pan rated to 180 °C for warming. Ask for the rating in writing and confirm it with a heat-cycle test on the sample. The claims-check guide for cookware manufacturers explains how to verify oven-safe, dishwasher-safe and induction-ready claims without taking the factory’s word for them.
Temperature ratings interact with handle material in a specific way. Phenolic handles have a maximum continuous temperature that is usually lower than a stainless handle’s practical limit; silicone-wrapped handles vary by the silicone formulation. A handle rated “oven-safe to 180 °C” may be perfectly fine for most home cooking and wrong for a line positioned for high-heat searing. Match the handle to the cooking story, not the other way around.
Lid Fit: The Spec Everyone Forgets
Lids are where frying pan programs lose money quietly. A lid that does not fit the pan — too loose, too tight, or rocking on the rim — turns a simple purchase into a return, and a set sold with mismatched lids damages the whole line’s reputation. Lid fit is a measurable spec, and it should be measured on the sample.
Two design questions decide lid strategy. First, are lids sold with the pans as sets, or offered as separate SKUs? Sets need the lid and pan to match within a tolerance you define; separate lids need a fit range that works across the pans of that size. Second, what lid material fits your line: glass lids with a metal rim are the retail standard because shoppers can watch the food, while metal lids are lighter, cheaper and unbreakable in transit. Glass lids add a breakage risk in packaging and shipping that metal lids do not carry, which affects your carton design and your QC checks.
On the sample, check the lid fit three ways: the lid should sit level on the rim without rocking, the rim should engage the pan without force, and steam should escape through the vent as designed. For sets, test every lid against every pan of the same size in the carton, not just the display pair. A batch where lids and pans are made in different tolerance batches is where fit complaints come from.
Heat Distribution and Handle Temperature: What the Sample Tells You
The handle spec is not only about materials — it is about what happens during cooking. Handle temperature under stovetop use is a measurable property, and some buyers test it as part of sample evaluation: heat the pan on a defined burner setting for a defined time and measure the handle temperature at the grip point. A stay-cool handle that stays below a comfortable threshold on gas may behave differently on a high-output induction burner, so test on the heat source your target shoppers use.
The sample-test guide on this site covers heat distribution and handle temperature checks in detail. The short version: do not rely on the handle material name alone; measure the grip temperature, check the rivet or weld joint after the heat cycle, and repeat the test after a dishwasher cycle if your care label claims dishwasher safety. Handles fail differently after thermal cycling than on day one.
Stackability, Packaging and Display
Handle design also drives logistics and display. Pans with protruding handles stack less efficiently than pans with stay-cool or detachable handles, which changes your carton count and freight cube. Long handles may need protective packaging at the tip to avoid transit damage; exposed rivets or sharp handle edges can scratch adjacent pans in the carton.
For retail display, the handle is part of the product story. Hanging displays need handles with a hanging feature or a hook-friendly shape. Open-stock programs need the handle material and color to look consistent across sizes. If you sell sets, confirm that the handle design is identical across the set — a set where the large pan has a different handle style from the small pan reads as an error, even when both are functional.
The carton and retail presentation decisions connect to the wider cookware program: the export carton approval steps used for other cookware lines apply here, and the price structure you set for handle tiers is part of the frying pan price breakdown conversation with your supplier.
How the Pan Body Interacts With the Handle Spec
Handles are specified in isolation too often, but the pan body decides what the handle has to survive. A heavy tri-ply pan stresses the handle joint more than a light single-layer pan of the same size, because the handle carries more weight when the pan is full and more momentum when it moves. A pan with a thick encapsulated base transfers heat up the sidewall faster, which can make a marginal handle hotter at the grip than the same handle on a thin pan. And a pan that is marketed for oven finishing demands a handle rated for that oven, while a stovetop-only pan can use a lighter handle design.
Brief the body and the handle as one system. Give the frying pan manufacturer the full specification — diameter, gauge, base construction, coating, depth — and ask for the handle recommendation with the temperature data behind it. A supplier that sells the same handle across every pan regardless of body weight is not engineering the joint; it is standardizing to save cost, and the buyer absorbs the difference in returns.
The sidewall is where body and handle meet, and it deserves its own check. The rim where a handle mounts must be thick enough to hold the rivet or weld without distortion; thin sidewalls flex under the handle’s leverage and loosen joints over time. On the sample, inspect the mounting area from inside and outside, and compare it across sizes — a range where the small pan’s joint looks different from the large pan’s is a range where one of them is wrong.
Sets, Open Stock and SKU Planning
Handle design determines how a frying pan range can be packaged and sold. Sets — two or three pans plus lids — are the highest-ticket item in most cookware programs, and their handle requirements are stricter than open stock: the handles must look consistent, stack acceptably in the box, and share the same oven rating if the set claims one. Open-stock pans sell individually, so each size needs a self-sufficient handle story and a carton that protects the handle in transit.
The SKU plan should separate the handle tiers clearly. A two-tier range — everyday pans with stay-cool phenolic handles, premium pans with stainless oven-safe handles — gives shoppers a reason to trade up and gives you two price points from one factory. A range where every pan has the same handle and the only difference is size competes on price alone, which is the most expensive place for a wholesale buyer to compete.
When you plan the range, count the handle variants as SKUs. Two sizes with different handles are four handle-related SKUs if you also sell lids separately, and every variant needs its own QC, packaging and spare-parts story. Frying pan manufacturers quote on volume per variant, so consolidating handle styles across sizes — where the engineering allows it — improves your price and simplifies your quality program.
What Handle Upgrades Add to the Quote
Handle choices move the unit price, and a buyer who knows the direction of each change can spec the range without surprises. In general, welded construction costs more than riveted because it adds a joining step and its own QC; stainless handles cost more than phenolic-style handles because the material and the stay-cool engineering cost more; silicone-wrapped handles sit between them depending on the design; and wood handles carry material and finishing costs plus stricter care constraints. These are relative statements, not prices — confirm the actual difference with your supplier on your specific pan, because the gap varies by factory and order size.
Use the upgrade costs deliberately. If the market position is value, keep the handle simple and spend the savings on gauge or coating where shoppers notice more. If the position is premium, spend on the handle, because it is the touchpoint that justifies the price. The mistake is paying for upgrades the shopper cannot feel — a welded handle on a value pan where the riveted version would perform identically for that user — or skipping the upgrade where the whole product story depends on it, like an oven-finishing line with a handle that limits the oven temperature.
Labeling and Claim Accuracy
Every claim printed on the box becomes a promise the retailer and the shopper can test. Frying pan labels carry three claims that need accuracy: oven-safe temperature, dishwasher-safe status, and induction compatibility. Each should trace to a test or a supplier statement you can produce when a claim is challenged.
Oven-safe labels must state the temperature and match the weakest component — usually the handle. Dishwasher-safe labels must survive a real dishwasher cycle, including the rivet and any silicone parts. Induction compatibility depends on the base, not the handle, but it belongs on the same label because shoppers read the whole box. If the supplier cannot produce the test record behind a claim, the claim should not be printed; a label that overclaims is a return and a complaint waiting for the first buyer who tests it.
Keep the care label consistent with the insert: if the label says hand-wash, the insert explains why, and the QC check includes a dishwasher cycle to confirm what happens when a shopper ignores it. A frying pan program with accurate claims and honest care instructions produces fewer disputes than one with aggressive marketing and thin documentation — and the disputes it does produce are the ones you can win with the test record.
QC Checks for Handles, Rivets and Lids
Put handle and lid checks into the QC checklist alongside the base and coating checks. A frying pan can pass a coating inspection and still ship with a loose handle, because handle joints fail under torque and thermal cycling, not under a visual check.
| Check | Method | Acceptance signal |
|---|---|---|
| Handle torque and wobble | Apply lateral force to the handle; check for play at the joint | No visible movement or creak at the rivet/weld |
| Rivet condition | Inspect interior and exterior rivets; check flushness | No proud or loose rivets; no sharp edges on the interior |
| Oven rating | Heat-cycle the full pan at the rated temperature | No handle melting, discoloration or loosening |
| Handle temperature | Measure grip temperature on a defined burner setting | Within the limit you set for the line |
| Lid fit | Test lid on multiple pans of the same size | Level seating, no rock, correct vent function |
| Dishwasher cycle | Run the pan through a dishwasher cycle per care label | No corrosion at rivets, no coating or handle damage |
These checks belong in the pre-production sample approval and in the final inspection report. The 15-point kitchenware QC checklist is a good skeleton; add the handle and lid rows above for frying pan programs specifically.
Frequently Asked Questions
What is the most durable frying pan handle attachment?
Both riveted and welded handles are durable when the joint is made correctly; each fails differently. Rivets can loosen over time and create dishwasher crevices; welds can fail at the joint if poorly executed. Ask the manufacturer for defect data on their joint type and test the handle with torque and thermal cycles on the sample.
What temperature rating should an oven-safe frying pan have?
Match the rating to your line’s cooking story. A pan for finishing steaks typically needs a higher oven rating than a pan for gentle warming. Specify the continuous-use temperature you need in the briefing, confirm the handle and body both meet it, and verify with a heat-cycle test on the sample.
Are glass lids better than metal lids for frying pans?
Glass lids let shoppers watch food and are the retail standard; metal lids are lighter and unbreakable in transit. Glass adds breakage risk in packaging and shipping, so the choice affects carton design and QC. Match the lid to the price point and the set strategy.
How do I test a stay-cool handle without a lab?
Heat the pan on a defined burner setting for a defined time, then measure the temperature at the grip point with a probe thermometer. Repeat on the heat source your target shoppers use, because induction and gas behave differently. Compare the reading against the limit you set for the line.
Why do my frying pan rivets corrode in the dishwasher?
Interior rivets create crevices where water and detergent sit, which can corrode or discolor over time if the pan is regularly machine-washed. If your shoppers use dishwashers, consider welded handles or specify a care label that clearly recommends hand-washing, and verify the claim with a dishwasher cycle on the sample.
If you are specifying a frying pan line and want a handle, rivet and lid spec sheet that factories can quote against — including oven ratings and lid-fit tolerances — send us your target market and price points. We source cookware programs daily and can help you compare frying pan manufacturer quotes on the same specification. Request a frying pan line quote.